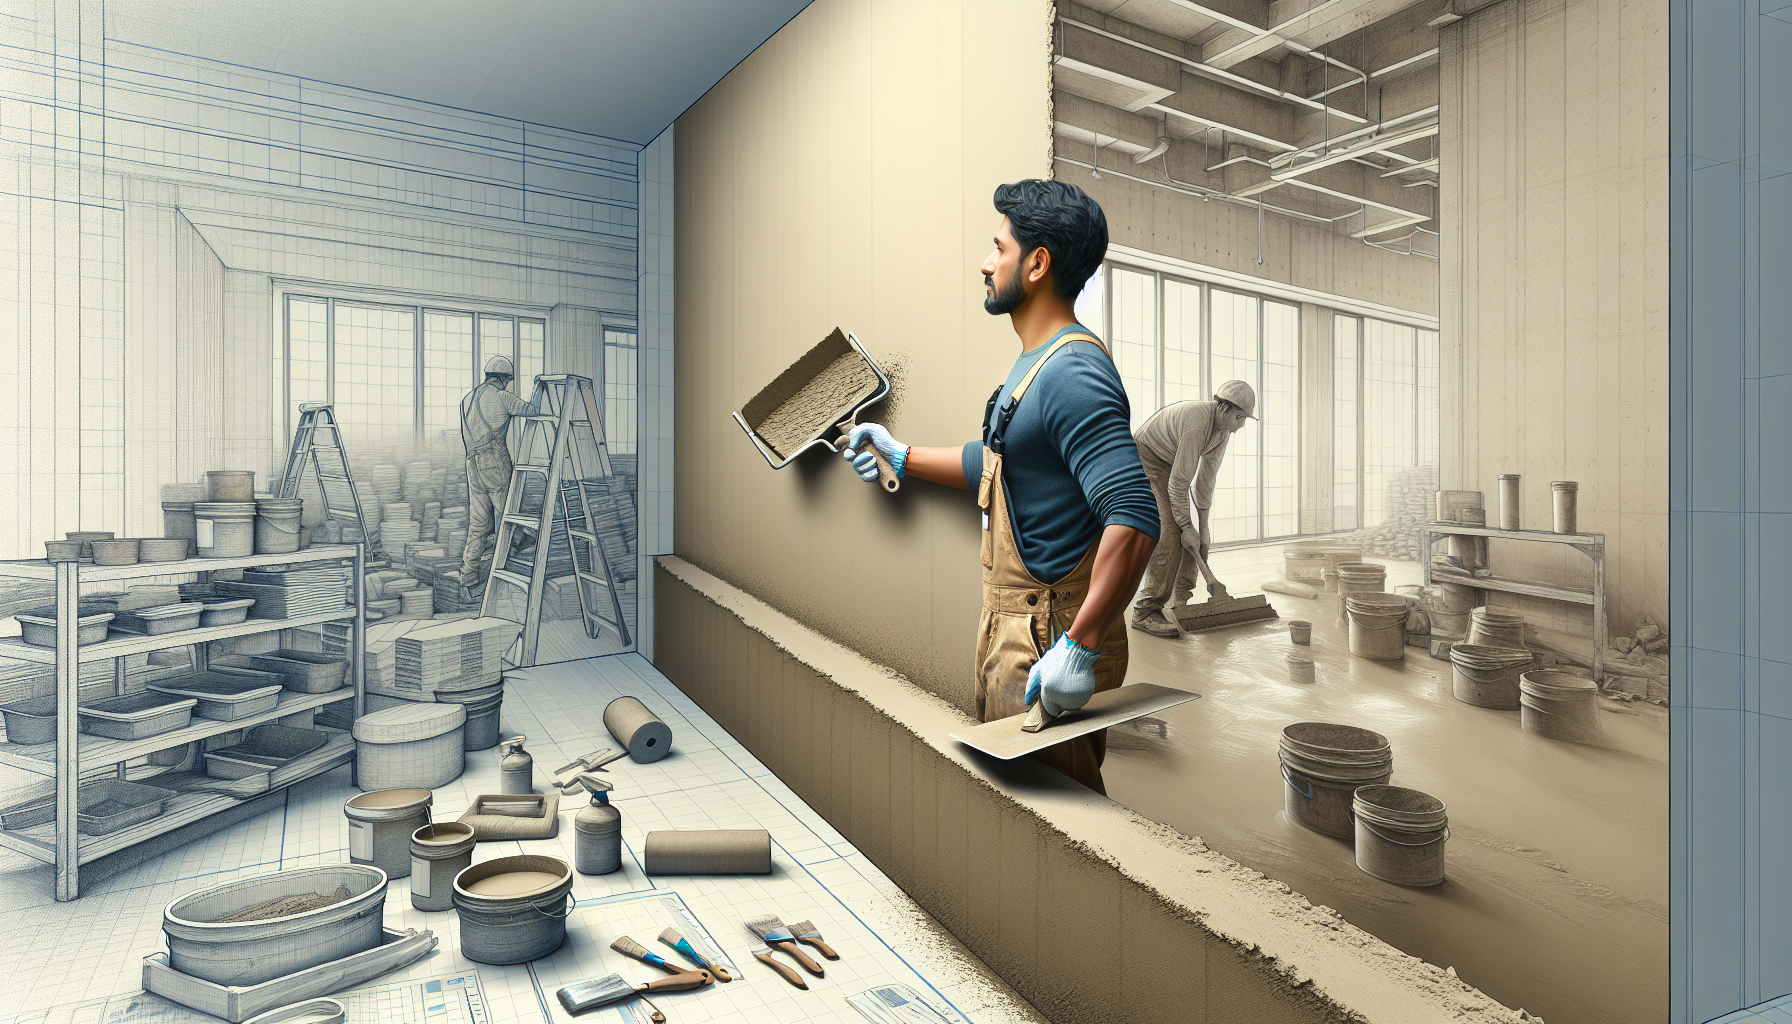
A Simple Guide to Plastering a Wall
This guide provides easy-to-follow steps for plastering a wall, ensuring a smooth and professional finish.
Introduction
Plastering a wall can seem daunting, but with the right tools and techniques, it is a skill that can be mastered. Follow this simple guide to achieve a professional finish.
Tools and Materials Needed
- Plaster mix
- Plastering trowel
- Mixer or mixing stick
- Water
- Bucket
- Hawk board
- Spirit level
- Sanding block
Step-by-Step Guide
1. Prepare the Wall
Ensure the wall is clean, dry, and free from any loose debris. Use a sanding block to smooth out any rough areas. Apply a primer or bonding agent if the wall surface is particularly smooth.
2. Mix the Plaster
Follow the manufacturer's instructions to mix the plaster. Use a mixer or mixing stick to achieve a smooth, lump-free consistency. Allow the plaster to rest for a few minutes before application.
3. Apply the First Coat
Using the trowel, scoop plaster onto the hawk board. Apply a small amount to the trowel and then onto the wall, starting from the bottom. Spread the plaster evenly in upward strokes, maintaining a consistent thickness of around 2mm.
4. Smooth the First Coat
Once the first coat is applied, use the trowel to smooth it out, ensuring there are no bumps or ridges. Leave to set until it becomes firm to touch, but still slightly damp.
5. Apply the Second Coat
Apply a second coat of plaster, slightly thinner than the first, around 1mm thick. This coat should be smoother and more refined. Use the spirit level to check that the surface is even.
6. Final Smoothing
As the plaster starts to set, use a clean trowel to smooth out the surface further. This is crucial for achieving a high-quality finish. Dampening the trowel slightly can help achieve a glass-like smoothness.
7. Let It Dry
Allow the plaster to dry completely. This can take several days depending on the room's humidity and temperature. Avoid painting or decorating until the plaster is fully dry.
Conclusion
By following these steps, you can plaster a wall with a professional finish. Practise makes perfect, so don't be discouraged if your first attempt isn't flawless. For more resources and advanced techniques, visit the Plastering FX Academy website.