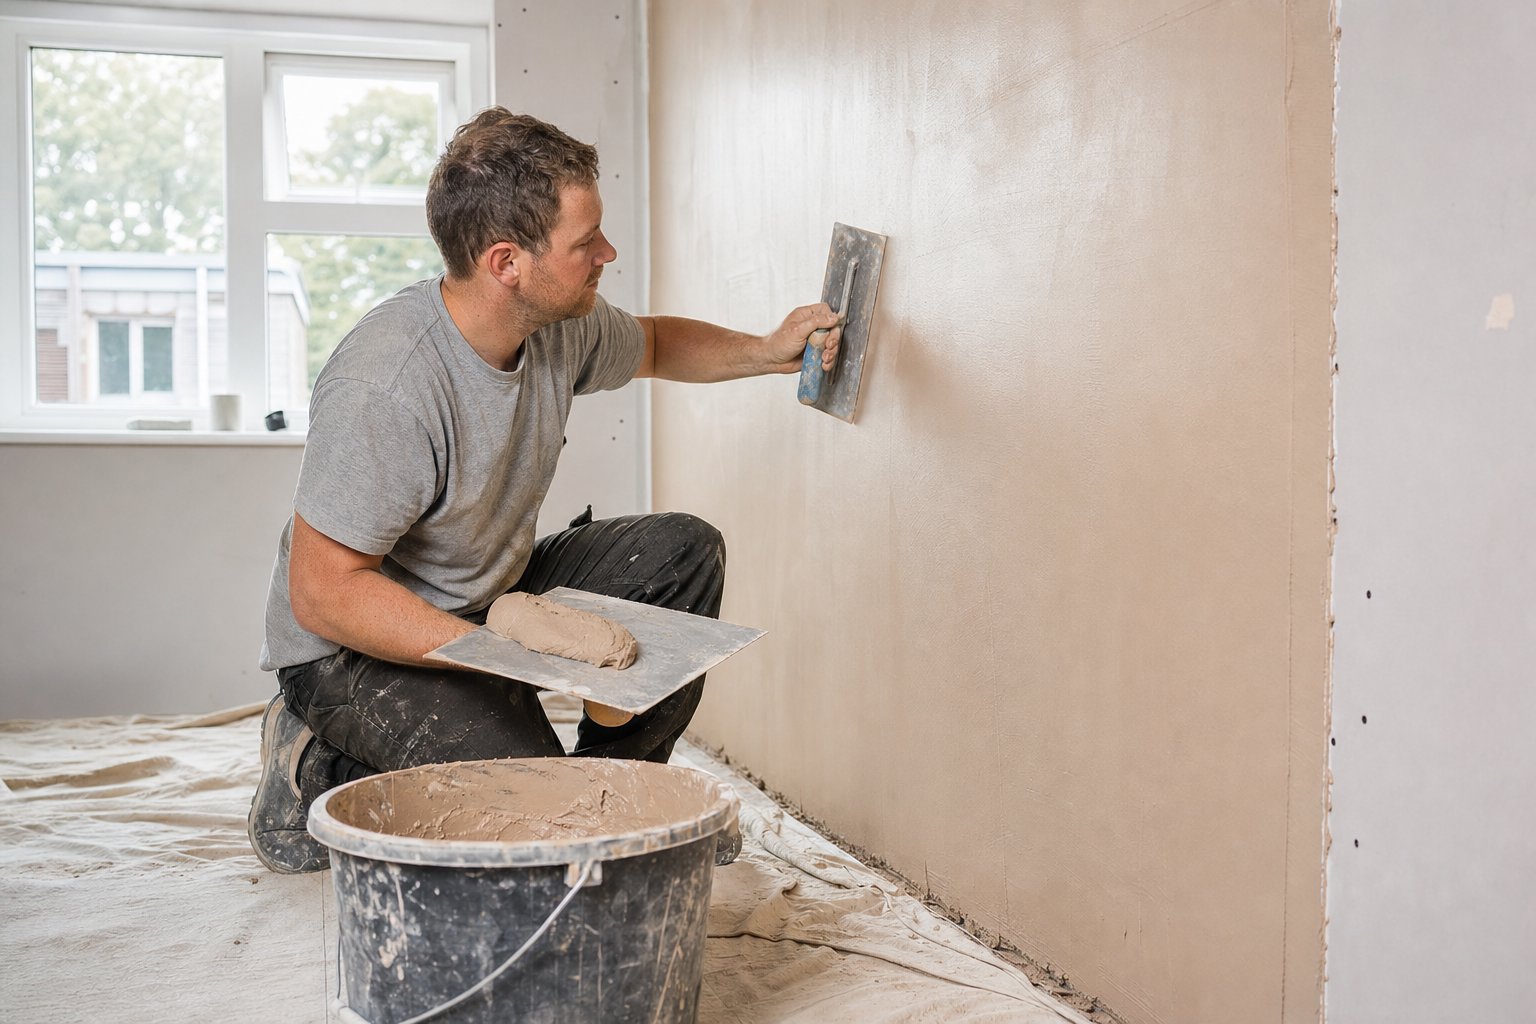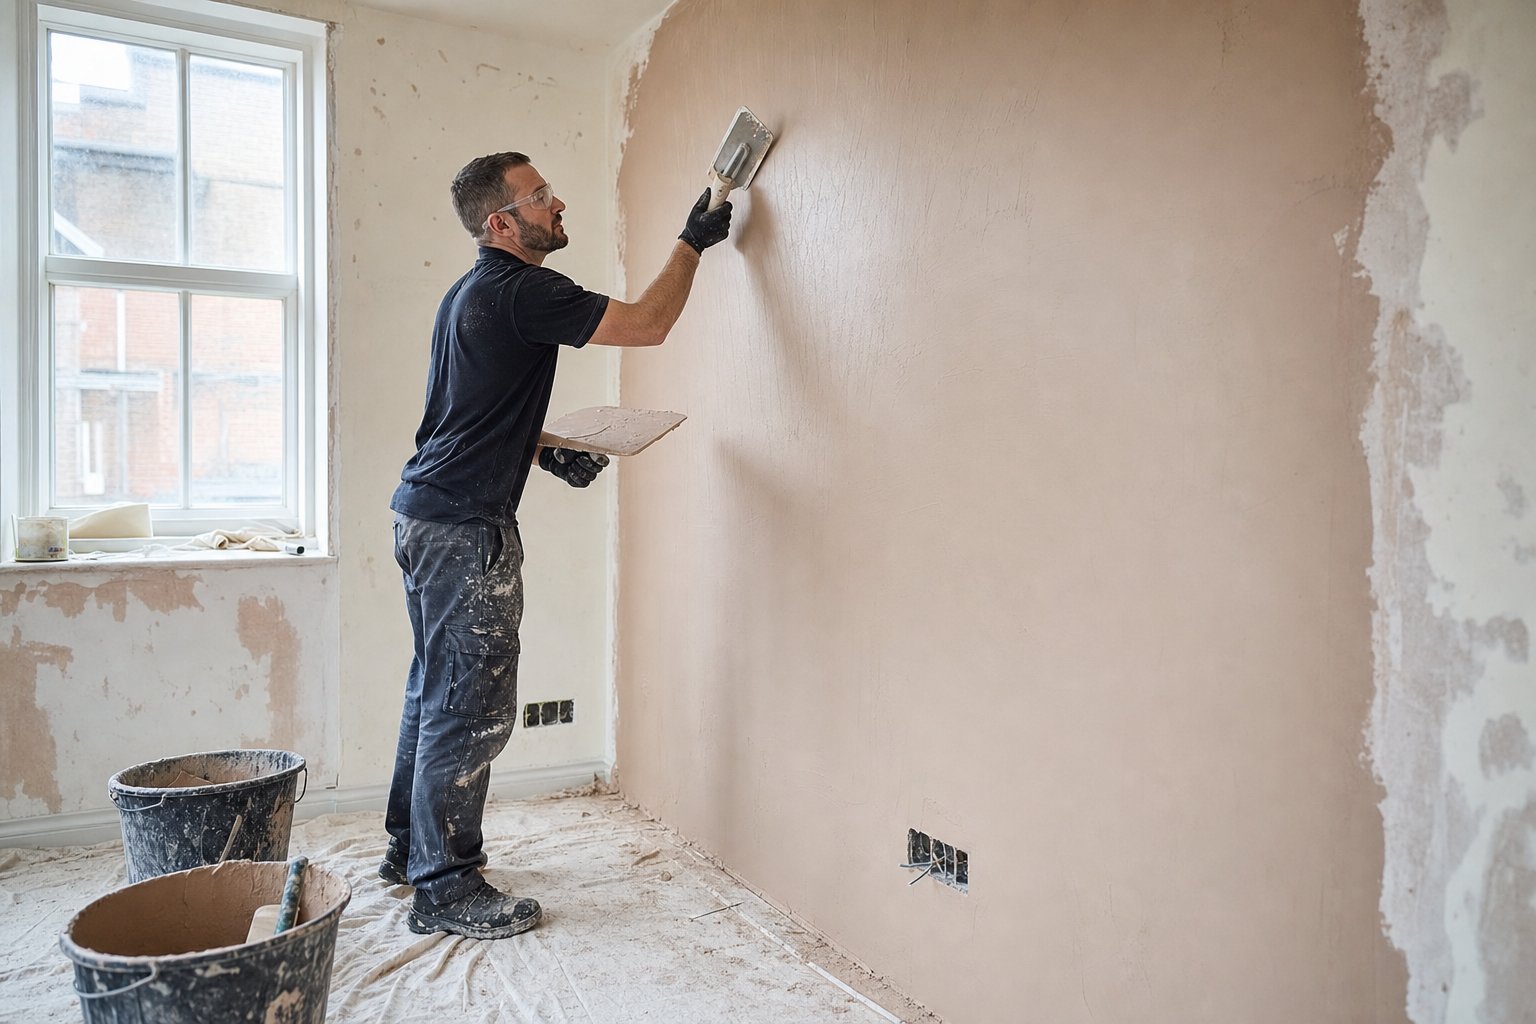
A tidy skimming job starts before the first mix. For small independent plastering businesses, a repeatable workflow protects finish quality, keeps time on site under control, and helps avoid costly return visits.
Site Setup and Surface Checks
Start with access, lighting, and protection. Floors, frames, sockets, radiators, and finished surfaces should be covered before materials come in. Good lighting across the wall or ceiling is essential, as side light will show hollows, misses, and trowel marks early.
Check backgrounds before mixing. Painted surfaces may need bonding agent, suction control, or mechanical keying. New plasterboard should be clean, fixed soundly, and taped properly. Any loose material, dust, grease, or proud fixings should be dealt with first.
Quality checkpoint: the surface should be firm, clean, evenly prepared, and dry enough to accept skim without dragging moisture out too quickly.
Mixing and First Coat
Use clean water, a clean bucket, and fresh plaster. Contaminated buckets shorten working time and can cause tearing. Mix to a creamy consistency, let it settle briefly, then remix before use.
Apply the first coat evenly, working to a manageable area rather than chasing too much at once. Keep edges controlled and avoid heavy build-up in corners, around beads, and at board joints. The aim is coverage, flatness, and consistent thickness.
Safety note: wear eye protection when mixing, use a suitable dust mask when handling dry plaster, and avoid lifting full buckets awkwardly. Keep trailing leads and hose pipes out of walkways.
Flattening, Second Coat and Finishing
Once the first coat has firmed slightly, flatten it with clean, controlled passes. Apply the second coat thinner, filling minor imperfections rather than adding unnecessary weight.
Timing is the main skill. Trowel too early and the wall will move; too late and it will drag. Use water sparingly and keep the trowel clean. Work through the stages: flatten, close in, refine, and final polish only when the plaster is ready.
Quality checkpoint: look along the surface from different angles. Check reveals, internal corners, ceiling lines, beads, socket areas, and natural light positions.
Clean-Down and Handover Checks
Clean tools, buckets, boards, and splash marks before plaster hardens. Remove masking carefully and leave protection in place if other trades are following.
Final checks should include flatness, consistent sheen, clean arrises, no fat marks, no missed edges, and no contamination on joinery or fittings. Dispose of waste responsibly and never wash plaster into drains where it can set and cause blockages.