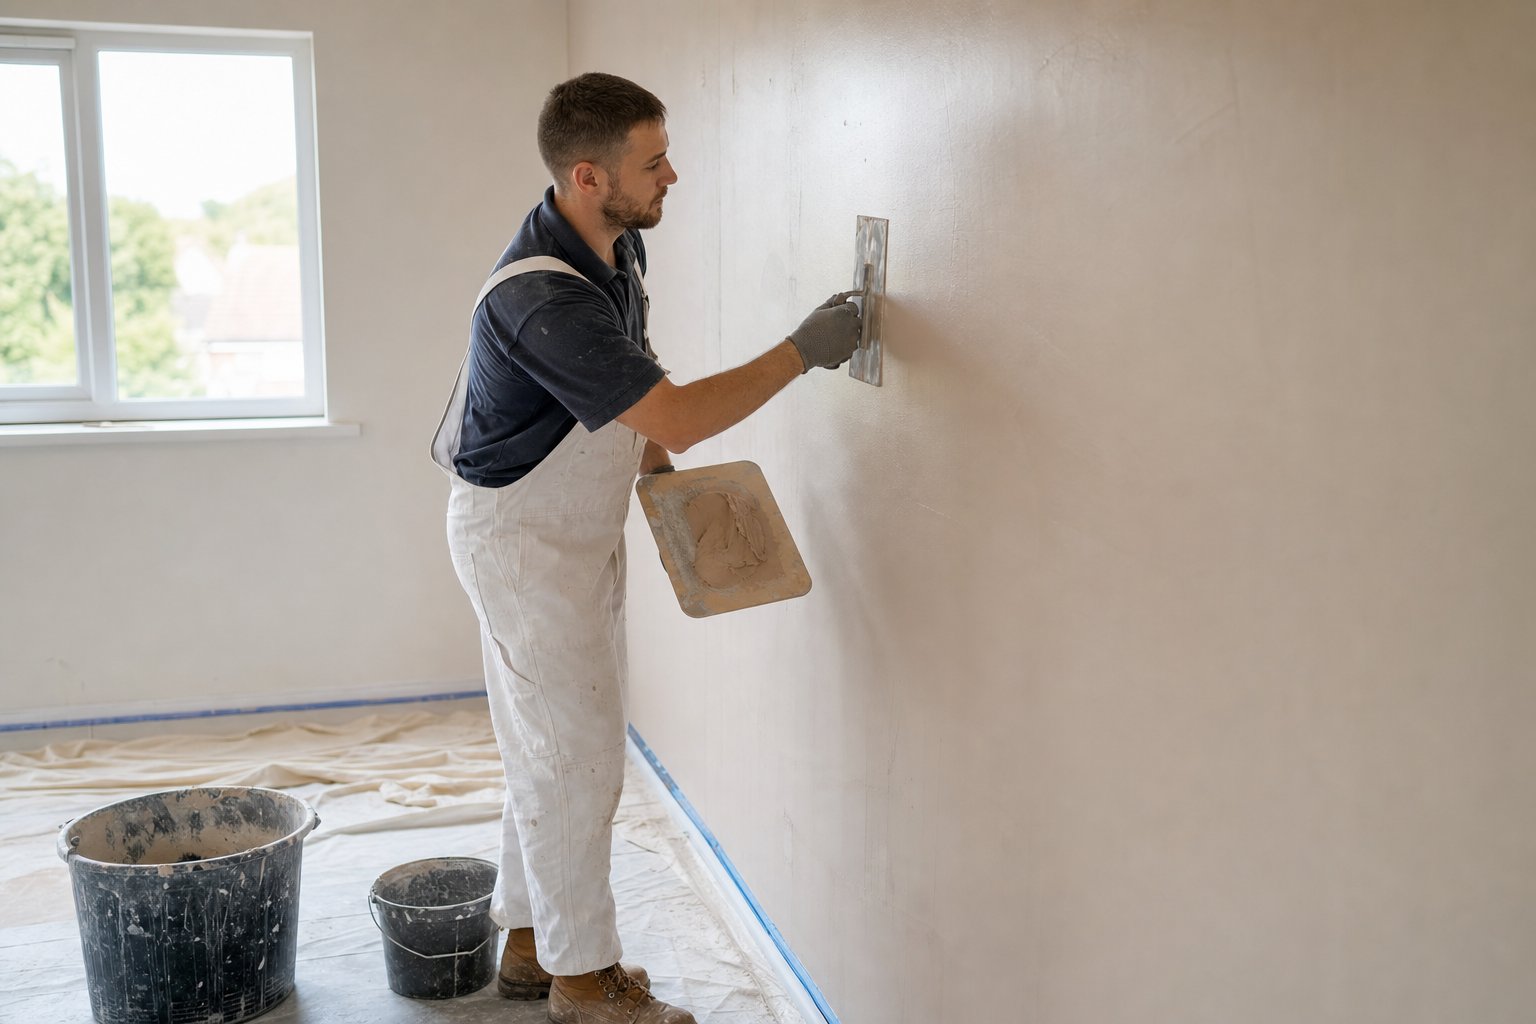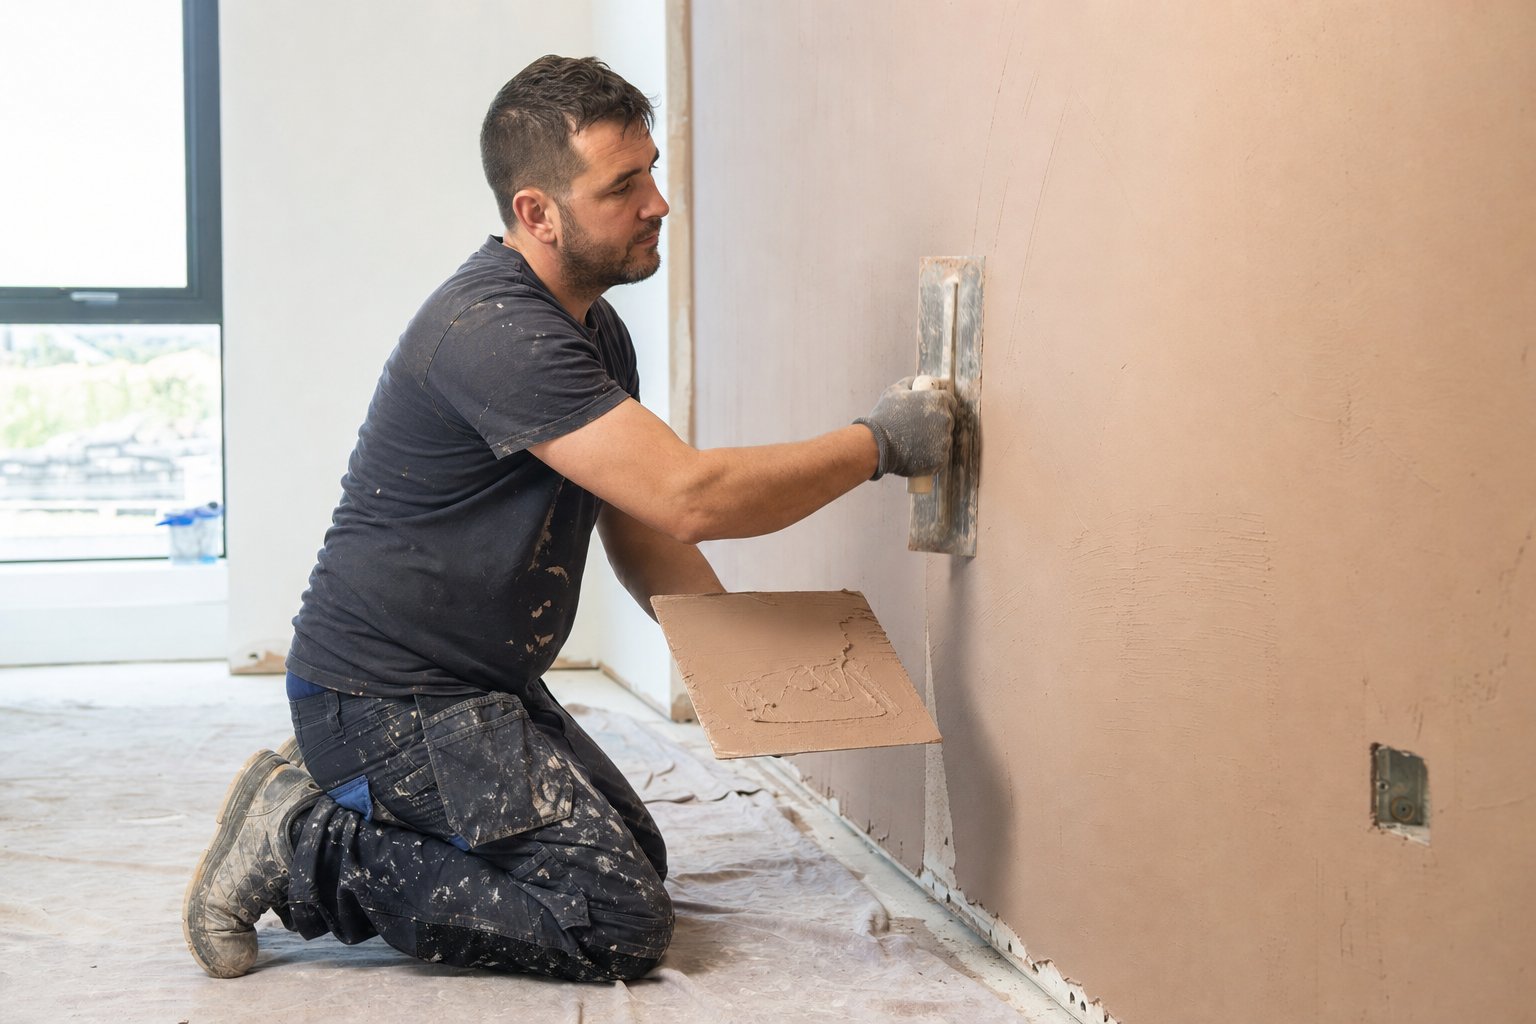
A clean skim starts long before the trowel hits the wall. For apprentices, uneven backgrounds can look like “just a bit of bonding” or “the skim will take it up”. Experienced plasterers know better: poor preparation leads to fat edges, hollows, dragging, longer set times and callbacks.
Read the Background Before You Reach for Gear
Start with a straightedge, featheredge or darby across the wall, checking both vertically and horizontally. Mark high spots, hollows, ridges around chases, proud beads and board joints. Use a strong work light across the surface, not straight at it, so shadows reveal the shape of the wall.
Talk apprentices through what they are seeing. A background does not need to be pretty, but it must be sound, keyed, clean and within a sensible tolerance before skimming.
Knock Back Highs and Control the Suction
High spots are usually quicker to deal with than low ones. Scrape off old nibs, proud adhesive, loose plaster and dried jointing compound. Use a hammer and bolster carefully on hard ridges, or a scraper and rubbing stone where the surface only needs refining.
Check suction next. Dense backgrounds may need a grit bonding agent. High-suction areas, such as old plaster or dry patch repairs, may need controlled wetting or PVA used to the manufacturer’s guidance. The key lesson for apprentices is consistency: mixed suction across one wall makes the skim behave unpredictably.
Fill Hollows in Stages
Deep hollows should not be buried under finishing plaster. Build them out first using a suitable backing plaster, bonding coat or repair compound, matched to the background and depth. Rule off with a straightedge and avoid leaving polished surfaces; the next coat needs a key.
For small dips, tight coat and flatten before skimming, but do not overload the finish. Around sockets, chases and beads, keep repairs firm and flush. Re-check with the straightedge once the material has pulled in, as some areas slump if applied too wet.
Quality Checkpoints Before Skimming
Before the final skim, run three checks: flatness, firmness and suction. The wall should not rock the straightedge badly, shed dust under the hand, or show loose edges when scraped. Beads should be straight, fixed solidly and set to the correct plane. Board joints should be taped, filled where required and free from movement.
Safety matters too. Wear eye protection when knocking back ridges, a suitable mask when scraping dusty backgrounds, and gloves when handling bonding agents. Keep leads, buckets and tools clear of walking routes, especially when mentoring apprentices in tighter domestic rooms.