Intro: In the Tools & Equipment category, the mixer, paddles, and associated gear are the backbone of consistent plastering on site. For supervisors, translating a bag of plaster into a reliable, workably stable mix is a core quality-control task that affects finish and productivity.
Tools, Setup and QC Focus
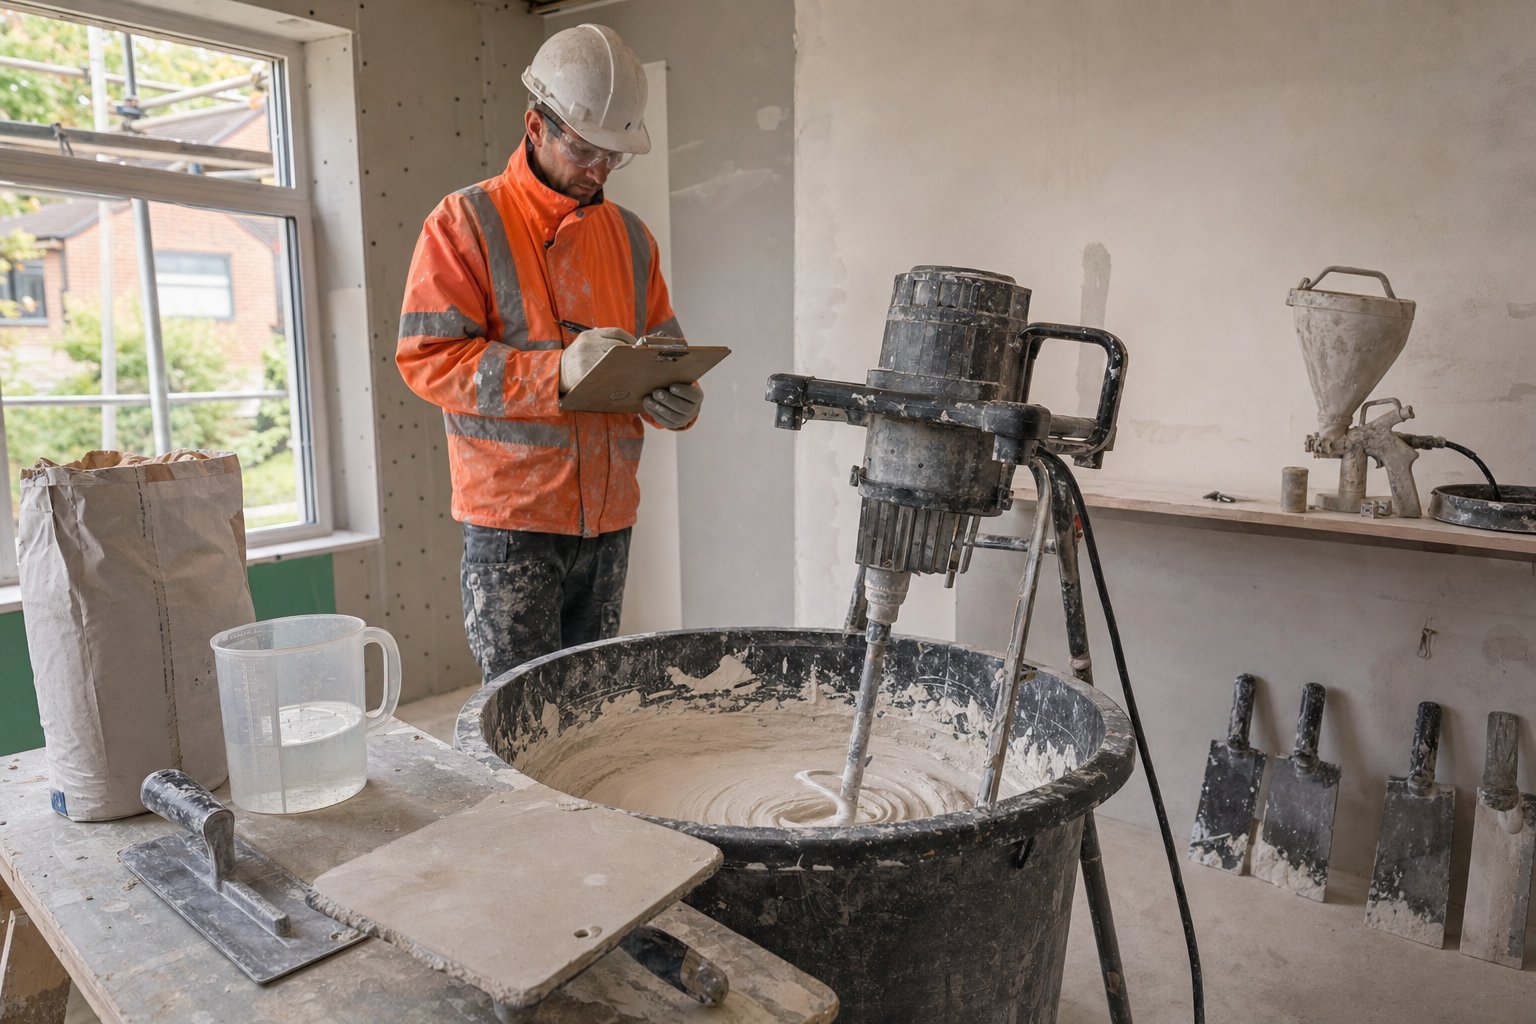
- Equipment: dedicated plaster mixers with appropriate paddles, sturdy mixing buckets, and a reliable water source. Use a drill or stand mixer rated for gypsum lime plaster, with a paddle designed to avoid air entrainment.
- Environment: ensure a clean, well-lit mixing area; keep cables managed and the workspace dry to protect electrical tools and the mix integrity.
- Materials: verify plaster bags are within use-by dates and that water is clean and temperate. Have a calibrated vessel or scale for measuring water if required by the manufacturer.
Mixing Steps and On-Site Checks
Practical steps to achieve a workable yet stable consistency:
- Pre-wet the mixing tub or bucket to minimize powder suction and dust.
- Start with the mixer at a slow speed and add plaster to water gradually to avoid lumps.
- Create a smooth slurry, then increase to normal speed and mix for 2–3 minutes.
- Let the mix rest for 1–2 minutes to hydrate, then re-mix briefly for a uniform cream.
- Monitor consistency: it should