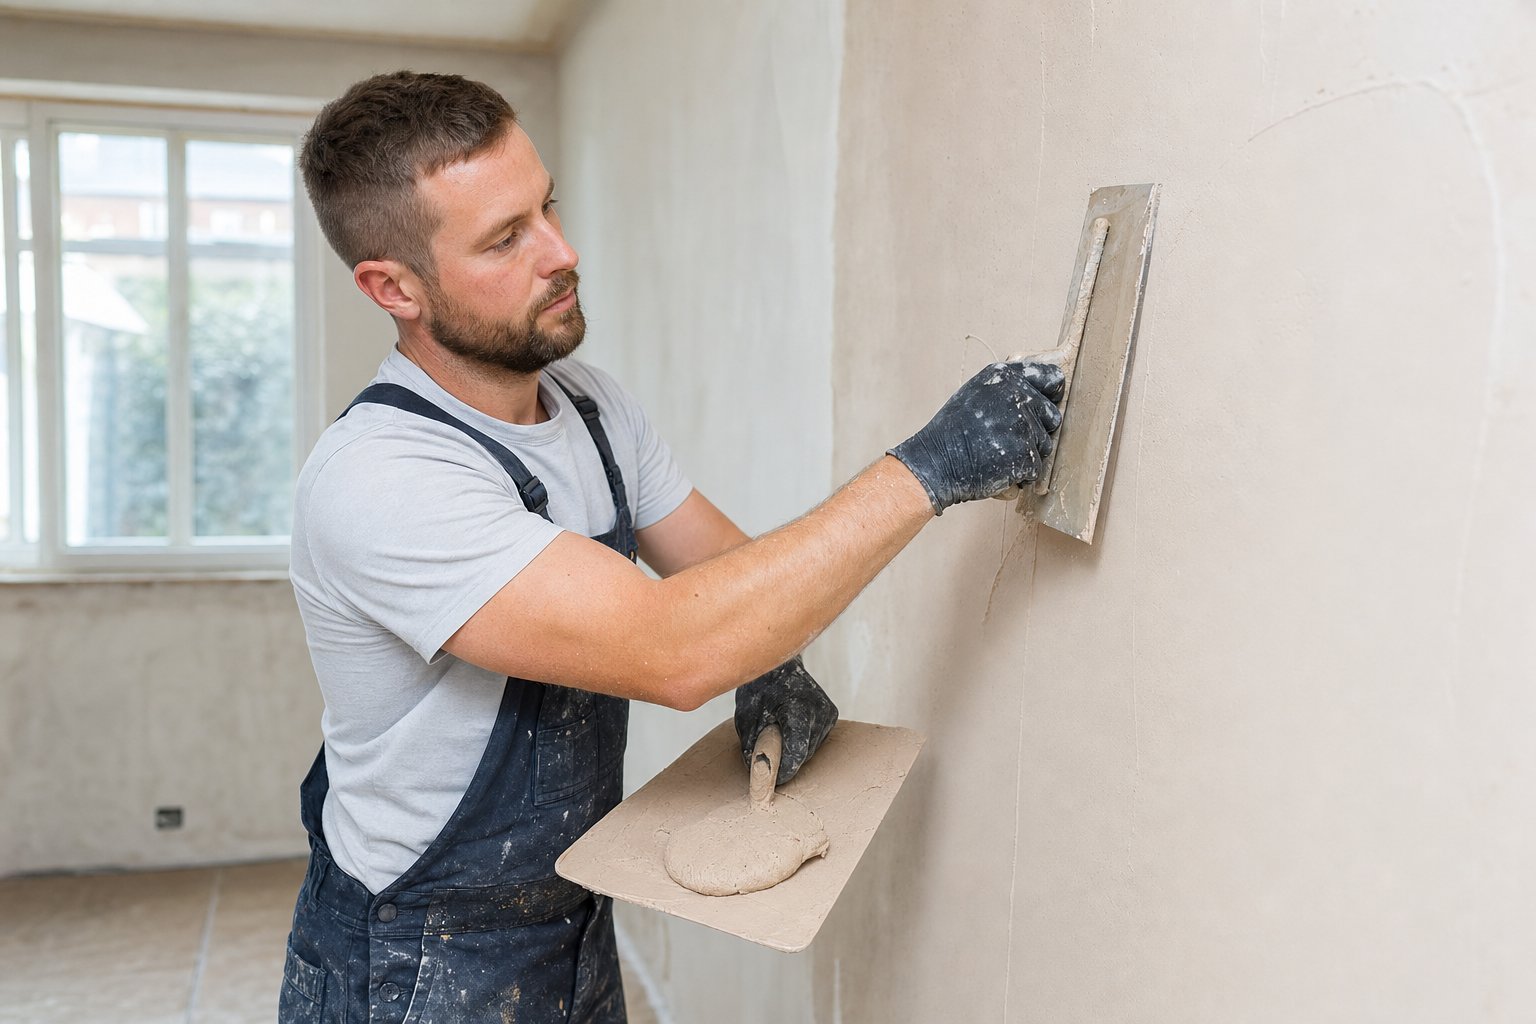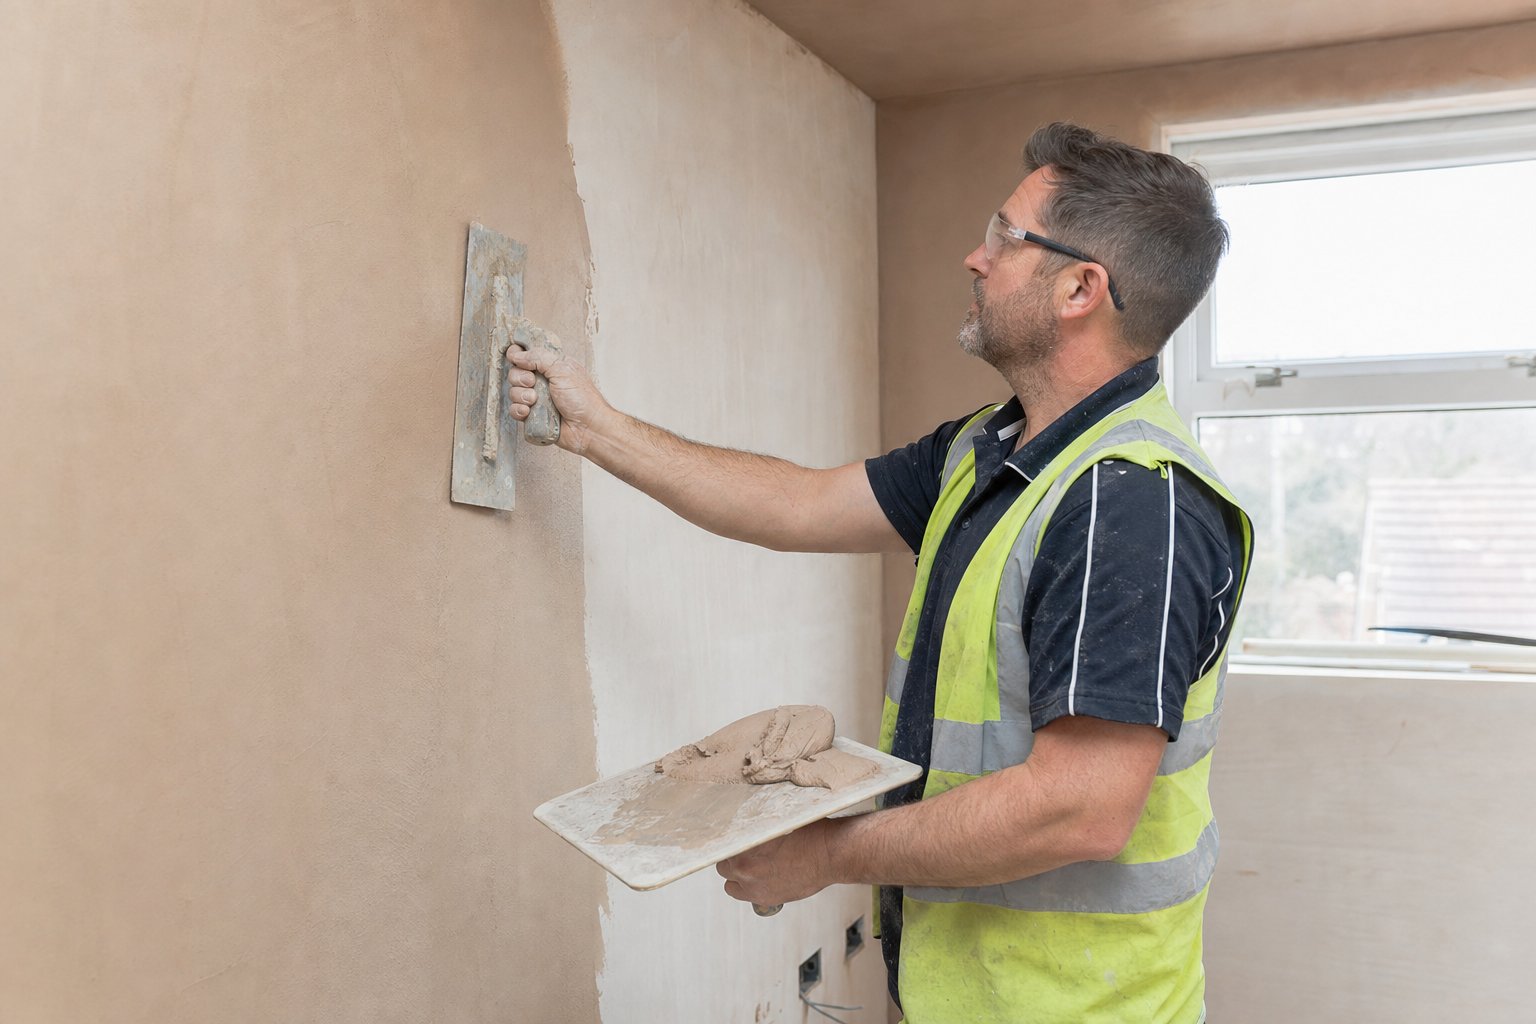
A consistent finish on a large wall is rarely about “working harder”. It comes from understanding how gypsum plaster, background suction, primers, beads and setting times behave as one system.
Control Suction Before You Mix
Large walls expose every difference in background porosity. High-suction blocks, old skim, patched plasterboard and filled chases can all pull moisture from the finish at different rates, causing dragging, dull patches and uneven closing-in.
Use the correct primer for the background. PVA may still appear on domestic work, but plastering primers and grit coats give more predictable suction control and mechanical key, especially on low-suction surfaces. Follow manufacturer dilution and drying guidance; over-priming can leave a sealed surface that delays set and encourages blistering.
Common mistake: treating the whole wall the same when backgrounds vary.
Corrective action: spot-prime high-suction areas, use suitable bonding or grit primer on dense surfaces, and allow primers to dry as specified.
Choose Materials That Match the Wall
Use fresh, in-date gypsum finish plaster and clean water. Old or damp bags can shorten working time, create lumps and make trowel marks harder to close. On larger walls, consistency between mixes matters: keep water quantities, mixing time and resting time the same for each batch.
Beads and tapes also affect finish quality. Poorly fixed angle beads can move under the trowel, while proud scrim tape can telegraph through the skim. Use corrosion-resistant beads appropriate to the environment, bed them securely, and avoid heavy build-up over joints.
Common mistake: adding extra water late to “bring back” stiffening plaster.
Corrective action: discard material that has started to set and mix a fresh, measured batch.
Work With the Set, Not Against It
Gypsum finish moves through clear stages: wet application, firming, flattening, trowelling and polishing. On large walls, the aim is to keep the whole surface within a manageable window. If one section has set faster because of suction or heat, it will resist the trowel while another area is still soft.
Use clean tools, controlled water and firm pressure as the material tightens. Avoid flooding the surface; too much water can weaken the finish, raise fines and leave a patchy sheen.
Common mistake: over-polishing early while the plaster is still moving.
Corrective action: flatten first, then refine as the set firms.
Safety Notes for Product Handling
Gypsum, cement-based primers and powdered products can irritate skin, eyes and lungs. Wear gloves, eye protection and suitable respiratory protection when mixing. Check product safety data sheets, keep bags dry, and maintain ventilation when using primers or additives indoors.