In today’s UK plastering trade, finish quality is under sharper scrutiny than ever. Larger open-plan spaces, stronger lighting, smooth painted finishes and tighter handover expectations all make inconsistencies easier to spot. For experienced plasterers mentoring apprentices, the challenge is not just achieving a clean finish yourself, but teaching a repeatable method that holds up across big walls, long sets and busy site conditions.
This academy article sets out a practical, step-by-step approach to producing consistent trowel finish quality on large walls, with clear checkpoints you can use when training apprentices on site.
Why Large Walls Expose Weak Technique
Small walls can hide a lot. Large walls rarely do.
On bigger areas, minor variations in pressure, timing, angle and material control can show up as:
- Trowel lines
- Tiger stripes
- Fat edges
- Hollows or high spots
- Uneven suction marks
- Patches that polish differently
- Dragging, tearing or blistering
- Inconsistent sheen under light
For apprentices, the biggest learning curve is understanding that a quality finish is not created in the final trowel alone. It starts with preparation, continues through the laying-on process, and depends heavily on timing.
A useful message for learners is this: the final trowel only refines the work already done — it cannot fully rescue poor preparation or uneven application.
Step 1: Set the Wall Up Properly
Before mixing, check whether the wall is actually ready to receive plaster. This is where experienced plasterers can teach apprentices to slow down and assess the background rather than rushing straight to the bucket.
Key checks before starting
- Is the background clean, dry and sound?
- Are there loose areas, dust, grease or old adhesive?
- Has suction been controlled correctly?
- Are beads fixed straight, solid and free from movement?
- Are joints taped and prepared?
- Are reveals, returns and edges protected?
- Is the wall accessible from end to end without obstruction?
On large walls, inconsistent suction is one of the main causes of uneven finish quality. Apprentices should be shown how to identify high-suction areas and understand why controlling suction matters.
Practical mentoring tip
Ask the apprentice to run through the wall inspection out loud before mixing. This helps build the habit of assessing backgrounds properly and gives you a chance to correct their judgement before the set begins.
Step 2: Plan the Set Before Mixing
Large walls need a plan. Experienced plasterers often work instinctively, but apprentices need that instinct broken down into clear decisions.
Before mixing, agree:
- Where the first gauge will start
- Whether the wall will be completed in one hit or broken into sections
- Who is laying on and who is following
- Where the spot board, water and tools will be positioned
- How access equipment will be used safely
- What the expected timings are for each stage
For large walls, the aim is to avoid unnecessary walking, overreaching or constantly moving equipment. Every interruption affects rhythm, and rhythm is central to consistent trowel work.
Quality checkpoint
Before the mix begins, ask: Can we reach the whole working area safely and maintain a wet edge?
If the answer is no, adjust the plan.
Step 3: Keep the Mix Consistent
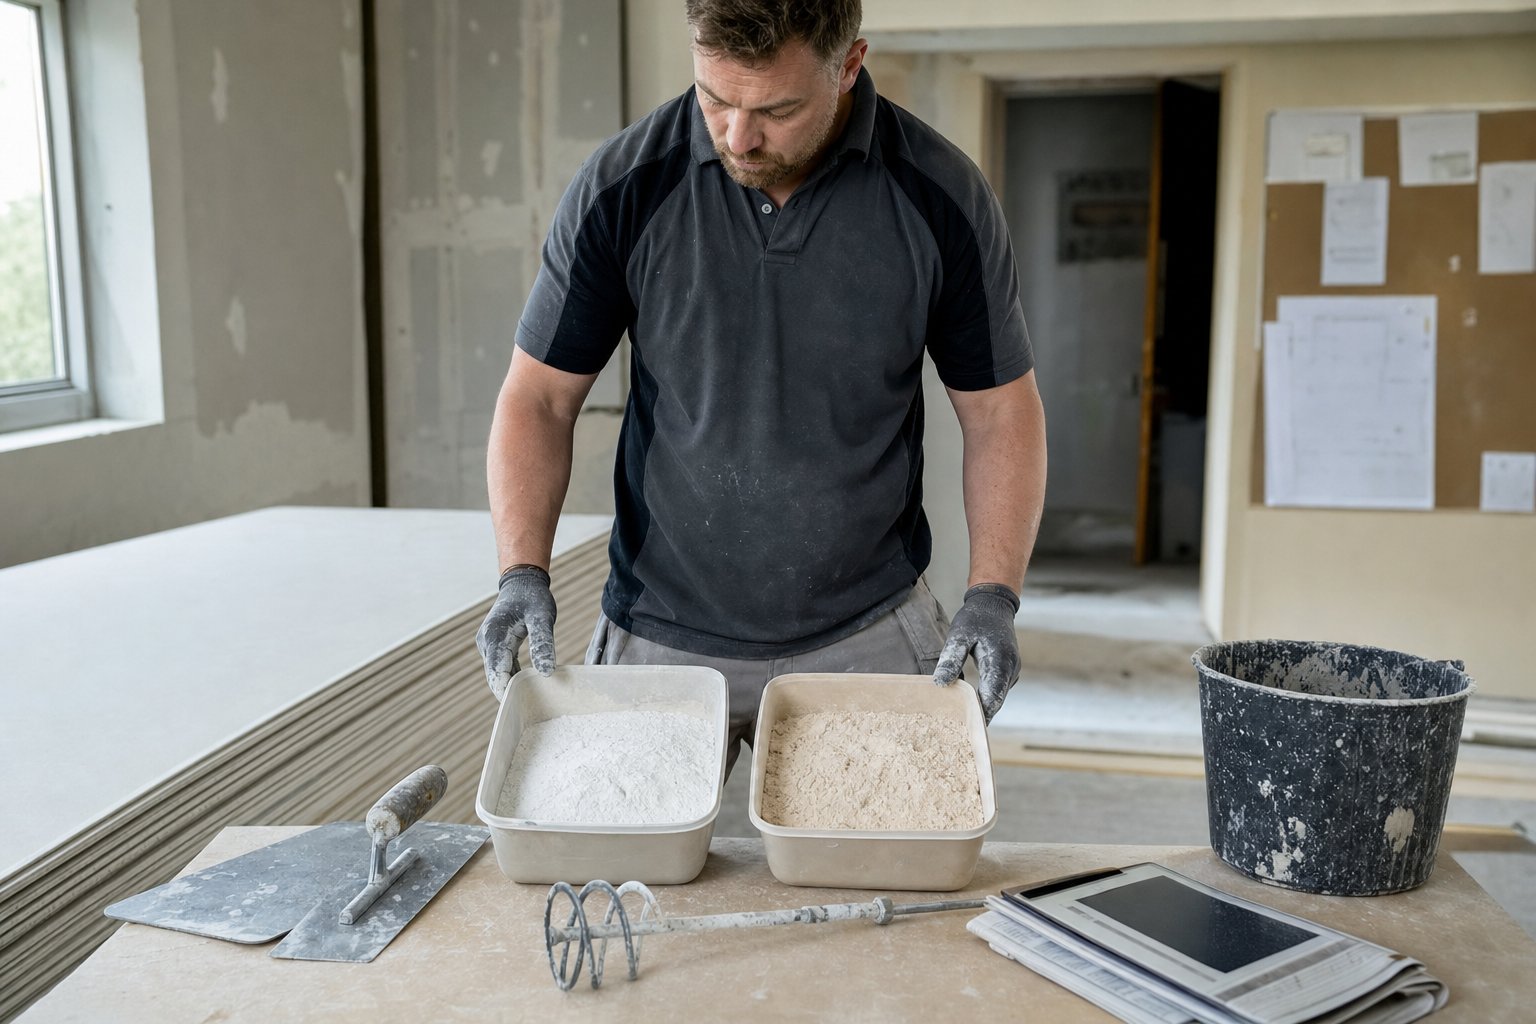
A consistent finish starts with a consistent mix. Apprentices should be taught to measure water properly, add plaster to water, and mix to a smooth, lump-free consistency.
For large walls, avoid the temptation to make the mix too wet in an attempt to gain time. Over-wet mixes may feel easier at first but can lead to slumping, slower control, poor body and inconsistent finishing.
Good practice points
- Use clean buckets and clean water
- Keep mixing tools clean between gauges
- Avoid dragging dried plaster into a fresh mix
- Mix to a workable, creamy consistency
- Allow the mix to stand briefly if appropriate, then remix
- Do not retemper plaster that has started to set
Mentoring tip
Let apprentices compare a good mix with a poor one. The feel of the material is something they need to learn through touch, not just instruction.
Step 4: Lay On Evenly, Not Just Quickly
Speed matters, but evenness matters more. On large walls, apprentices often focus on covering the area as quickly as possible, leaving inconsistent thickness and heavy ridges that cause problems later.
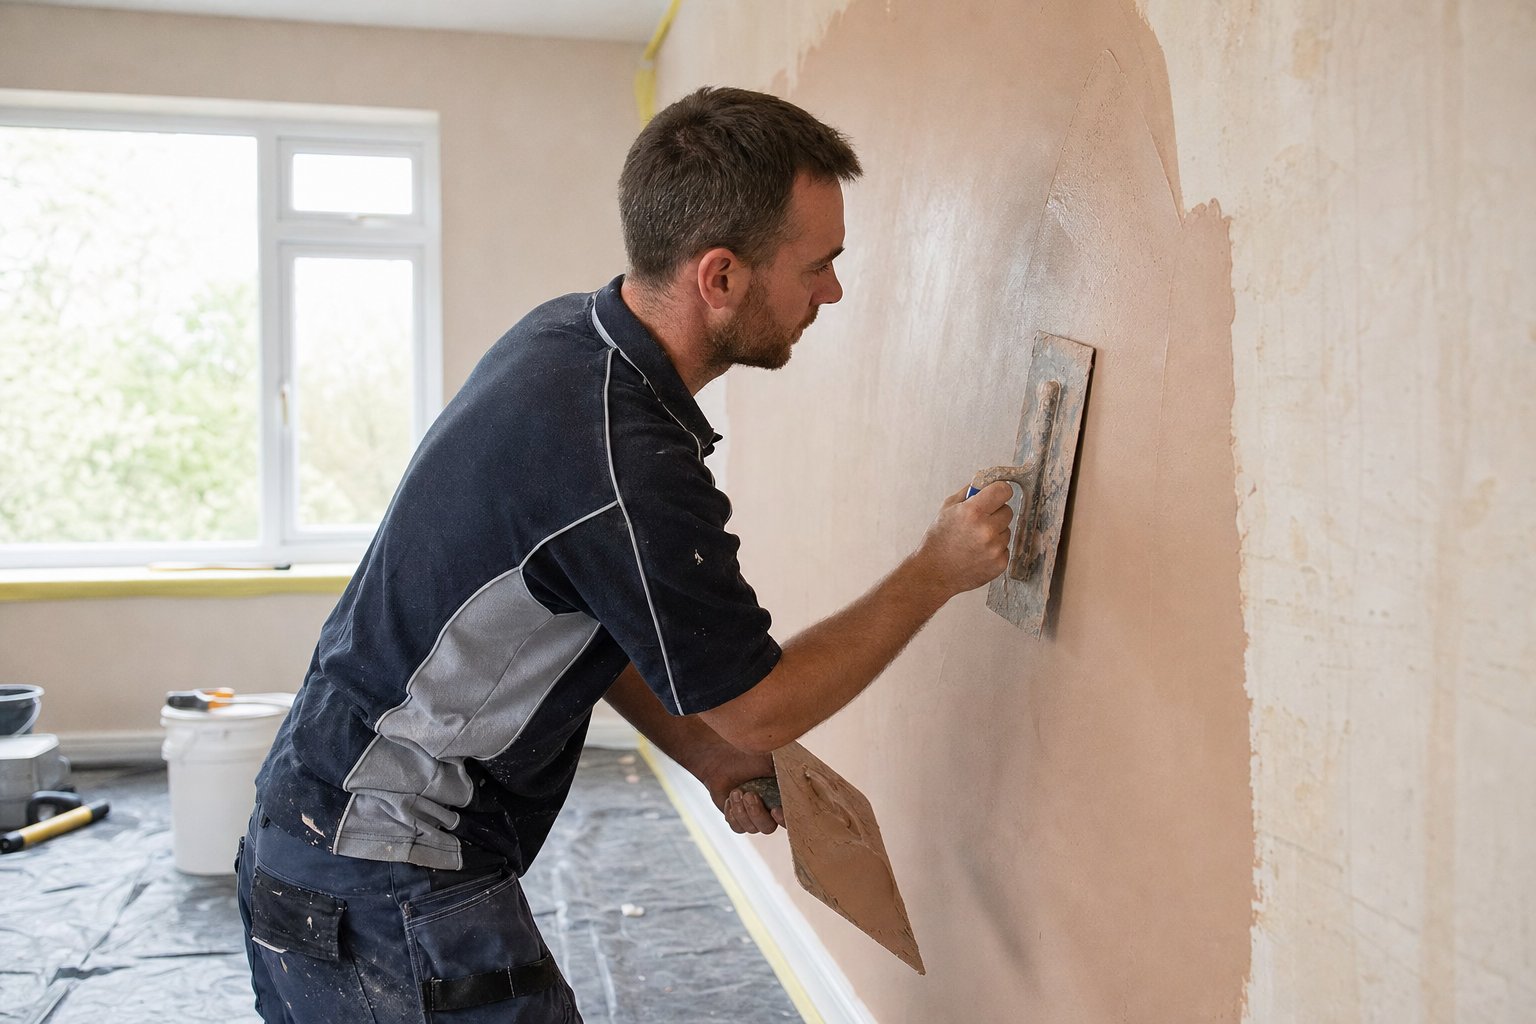
Teach them to lay on with controlled, overlapping strokes. The first coat should be applied evenly, with enough pressure to flatten and bond, but not so much that material is dragged thin across the background.
Focus points for apprentices
- Keep the trowel angle steady
- Use full, confident strokes
- Overlap passes to avoid tramlines
- Avoid leaving heavy ridges at the end of each stroke
- Keep edges tight around beads and corners
- Do not chase perfection too early
Experienced plasterers should watch for uneven loading on the trowel. Many apprentices carry too much plaster on one side, leading to uneven pressure and ridging.
Quality checkpoint
After laying on, stand back and check the wall from different angles. Look for:
- Thick patches
- Missed areas
- Excessive ridges
- Thin or dry spots
- Poorly filled edges
Correct these early. Once the set moves on, the wall becomes harder to reshape.
Step 5: Flatten at the Right Time
Flattening is where large walls are won or lost. The first flatten should bring the surface into shape without overworking it.
If the plaster is too wet, the trowel will move material around rather than flattening it. If it is too firm, the apprentice will fight the wall and leave marks. Timing is everything.
Teaching the timing
Rather than simply saying “flatten it now”, show apprentices what signs to look for:
- The surface has begun to firm slightly
- The plaster no longer slides excessively
- Ridges can be pressed in cleanly
- The trowel leaves the wall flatter, not wetter
- The material still responds to pressure
On large walls, apprentices need to understand that different areas may firm up at different rates, especially around windows, doors, external walls and varying backgrounds.
Practical method
Work systematically:
- Start where the plaster was first applied.
- Flatten with broad, even strokes.
- Keep pressure consistent.
- Avoid digging in with trowel corners.
- Work ridges back into low areas.
- Clean the trowel regularly.
- Check the wall with side light if available.
Quality checkpoint
After flattening, the wall should look controlled. It does not need to shine, but it should be level, closed in and free from major ridges.
Step 6: Use the Second Coat to Refine, Not Hide
On a two-coat skim, the second coat should even out the surface and provide the base for finishing. It should not be used as a desperate attempt to cover a poor first coat.
Apply the second coat thinner and tighter than the first. The apprentice should aim for consistent coverage, maintaining a wet edge and avoiding heavy build-up.
Common apprentice errors
- Applying the second coat too thick
- Starting too late and dragging over firm areas
- Leaving fat edges between passes
- Overworking one area while ignoring another
- Failing to keep the trowel clean
Mentoring tip
Encourage apprentices to think in full-wall sections, not isolated patches. On a large wall, quality must be consistent across the whole surface, not just the area directly in front of them.
Step 7: Trowel in Stages
A high-quality finish is built through controlled trowelling stages. Apprentices often make the mistake of trying to polish too early. This can bring too much water to the surface, weaken the finish, or create uneven shine.
A simple finishing sequence
Use a structured approach:
- First trowel: Close the surface and remove obvious lines.
- Second trowel: Tighten the finish, improve flatness and reduce marks.
- Final trowel: Refine the surface with light pressure and clean strokes.
The number of passes may vary depending on material, background, temperature and site conditions. The key lesson is that each pass has a purpose.
Pressure control
Teach apprentices to vary pressure as the plaster firms:
- Earlier stages: firm enough to flatten, not polish
- Middle stages: controlled pressure to close in
- Final stage: lighter, cleaner pressure to refine
Too much pressure too soon can drag the surface. Too little pressure later can leave open texture and marks.
Step 8: Manage Water Carefully
Water is useful, but it is also one of the easiest things to overuse. Apprentices often rely on water to make the trowel glide, but too much can cause soft patches, streaking, blistering or inconsistent finish.
Good water discipline
- Use clean water only
- Apply water sparingly
- Avoid soaking the wall
- Keep the brush or spray clean
- Use water to assist finishing, not replace timing
- Do not flood corners, beads or low areas
A helpful rule for apprentices: if you need lots of water to make it work, the timing or earlier trowelling may be wrong.
Step 9: Check the Wall Like a Finisher, Not a Labourer
Quality checking should be built into every stage. Apprentices must learn to inspect their own work before someone else does.
Inspection methods
- Stand back regularly
- Look along the wall, not just straight at it
- Use natural and artificial light where possible
- Check from both ends of the wall
- Look at beads, angles and junctions
- Feel the surface lightly with clean hands where appropriate
- Mark problem areas mentally and correct them in sequence
On large walls, lighting is critical. A finish that looks acceptable head-on may show lines clearly under raking light. While site lighting is not always ideal, teaching apprentices to check from different positions develops better judgement.
Quality checkpoint before leaving the wall
Before cleaning down, check:
- Are trowel lines removed?
- Are edges sharp and clean?
- Is the sheen consistent?
- Are there any drag marks or missed patches?
- Are beads clean?
- Are sockets and boxes free from heavy build-up?
- Does the wall look consistent from end to end?
Safety Notes for Large Wall Plastering
Large walls often mean longer working periods, larger gauges and more movement around access equipment. Safety should be part of the method, not an afterthought.
Key safety reminders
- Use suitable hop-ups, podiums or towers where required
- Do not overreach from steps or platforms
- Keep walkways clear of buckets, leads and tools
- Manage trailing cables from mixers and lights
- Wear eye protection when mixing
- Use gloves where appropriate to reduce skin irritation
- Lift bags correctly and avoid twisting under load
- Keep good ventilation where site conditions require it
- Clean spills promptly to reduce slip risks
When mentoring apprentices, challenge unsafe